

Sanding Disc Manufacturer Reveals How to Pick the Right Grit
2026-10-07
Every sanding job lives or dies by one small detail: grit. Pick too coarse and you’ll spend hours repairing deep scratches; pick too fine and you’ll sand forever without removing material. That’s why SHENZHEN SUN ABRASIVES, a sanding disc manufacturer with hands-on experience, decided to cut through the confusion. Below, we share the same practical grit-selection advice we give our industrial customers—so you can stop guessing and start getting consistent results.
Match the Disc to the Material Before You Pick a Number
Grit numbers are meaningless until you know what you're sanding or grinding. A 40-grit disc made for wood will clog instantly on steel, and a disc meant for paint will glaze over on concrete. The material dictates the abrasive type, backing stiffness, and bonding resin long before the number on the label matters. Start by identifying the surface, not the scratch pattern.
For ferrous metals, go with aluminum oxide or zirconia discs—zirconia holds up better under pressure and heat. Stainless steel often needs a contaminant-free, iron-free abrasive to avoid rust bloom. Concrete and masonry call for silicon carbide or diamond grit, while wood and softer synthetics usually do fine with standard aluminum oxide or ceramic blends. If you ignore this step, you'll end up fighting the disc instead of the material.
Once the right disc is in hand, then pick the number. Lower grits remove stock fast but leave deep scratches; higher grits refine the surface but take longer. The sequence matters less than the match. If you've ever watched a disc turn shiny and round without cutting, you skipped the first decision.
Why Lower Grit Cuts Faster but Costs More in the Long Run
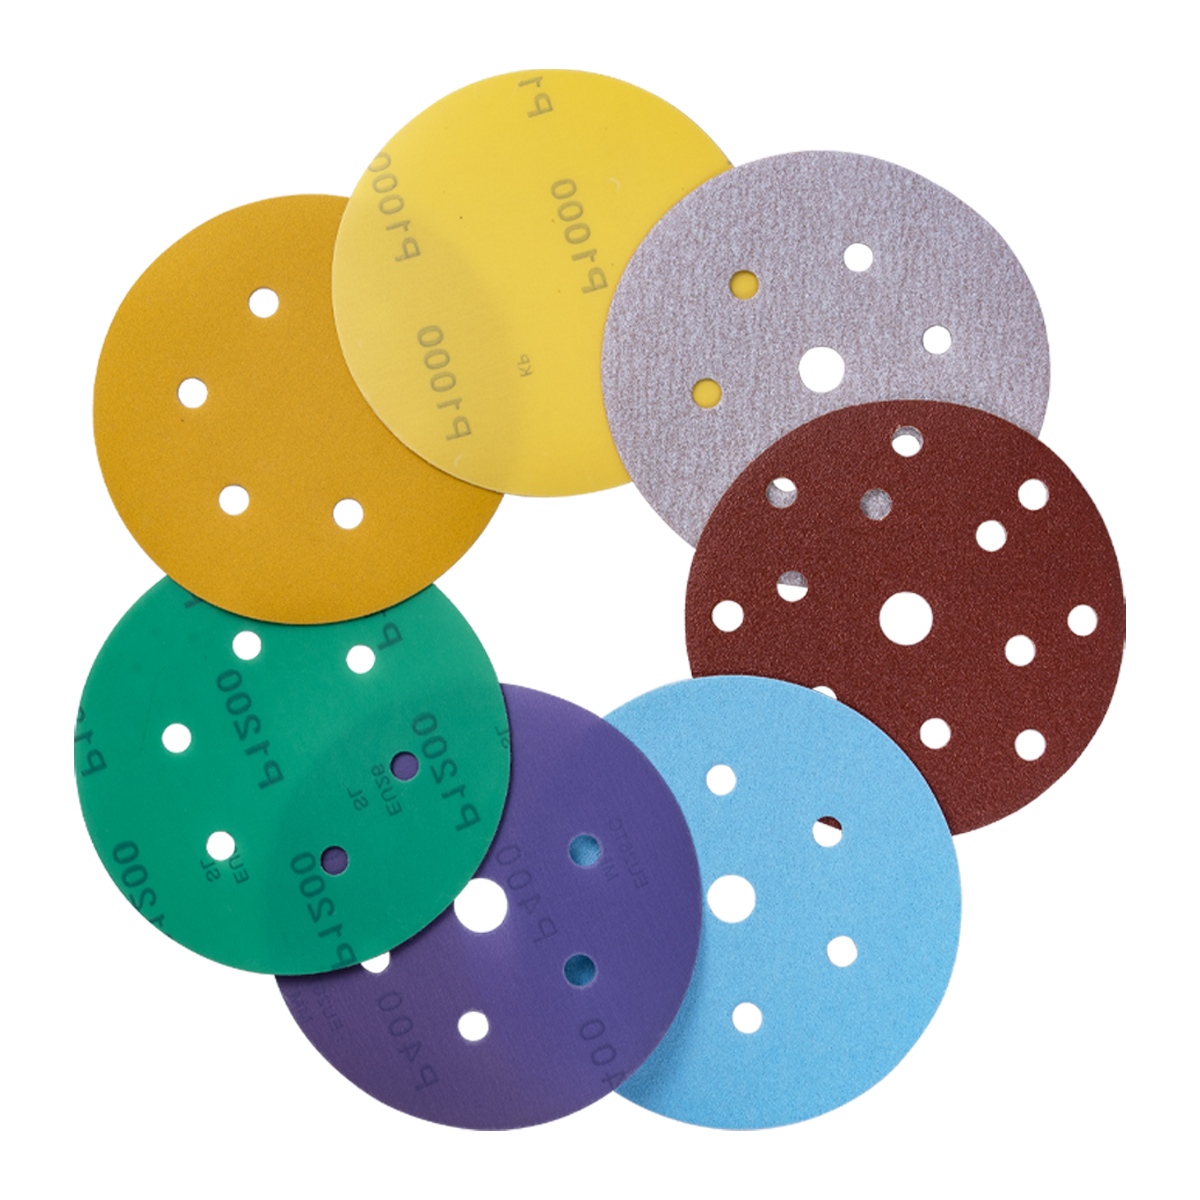
Coarse grit wheels bite into stock with little resistance—each abrasive particle acts like a tiny chisel, ripping away material in large chunks. That aggressive removal rate is why a 36-grit disc can plow through a steel bar in half the time of an 80-grit one. But speed comes with a trade-off: the same deep scoring that makes low grit fast also leaves behind torn edges, micro-fractures, and a surface that looks more chewed than cut.
The hidden costs start to appear quickly. Because coarse grains are farther apart and take deeper cuts, they wear unevenly and shed faster. You may go through three or four low-grit discs in the time one finer disc would last. Then there is the secondary work—grinding, deburring, or polishing—needed to clean up the rough finish. If the part overheats from friction, you may even lose it to warping or cracking, which turns an inexpensive abrasive into a very expensive scrap pile.
When you add up replacement discs, extra labor hours, and the occasional rejected workpiece, the true cost of low grit often exceeds its initial time savings. The fast cut is real, but it is only the first chapter. A slightly higher grit may remove material more slowly, yet it can deliver a finish that needs no rework, lasts longer between changes, and keeps heat buildup under control. That is why shops that track total spend tend to reserve low grit for rough bulk removal and reach for finer grit when the job has to be done right the first time.
The 80-Grit Sweet Spot Most Shops Overlook
Plenty of shops jump straight from 60-grit to 120-grit, assuming the coarse paper has done the heavy lifting and the finer grit will handle the rest. That leap, though, leaves behind a scratch pattern that 120 simply can’t erase without extra passes—and extra heat. The 80-grit stage sits right in the sweet spot where those deep 60-grit furrows get knocked down without over-sanding the surface. Skipping it means either living with faint scratches under the finish or spending twice as long at 120-grit, which loads up paper and burns through discs fast.
What makes 80-grit so effective is the way it bridges two very different jobs. At 60-grit you’re removing material and flattening; at 120-grit you’re refining. Without the 80-grit step, the 120-grit abrasive has to work as both a remover and a refiner, which dulls its cutting edge quickly. Running 80-grit for even a single pass after coarse sanding cuts down total sanding time dramatically, preserves finer discs, and leaves a more consistent scratch pattern for the finish to grab onto. Most shops overlook it because it feels like an extra step, but it’s actually the step that keeps the next one from becoming a bottleneck.
When Skipping Grit Steps Actually Saves Time
Traditional sanding wisdom insists on stepping through every grit from coarse to fine, but plenty of real-world surfaces don't need that full progression. If the wood has already been machine-planed or was previously sanded to a reasonably smooth state, the remaining scratches are often shallow enough that jumping straight from 180 to 320 grit works perfectly well. Not only does this cut down on sanding time, it also prevents removing more material than necessary—especially important on veneers or delicate profiles where over-sanding can quickly cause damage.
Another time-saver comes from using high-performance abrasives like ceramic or mesh-backed discs. These cut faster and clog less, which means you can afford to skip an intermediate grit without spending extra minutes on the next one. On dense hardwoods, going from 150 directly to 320 might take only slightly longer per pass, but you eliminate an entire round of disc changes, dust cleanup, and surface inspection. The net result is a shorter overall workflow, not a longer one.
Of course, skipping grits only works when the surface actually allows it. A quick tactile check—running your fingertips over the wood—tells you if there are any deep ridges or tear-out that need more aggressive sanding first. If the surface feels uniformly smooth with no obvious defects, jumping ahead is safe. This approach is especially useful for small repair areas or pre-finish preparation where the final coating will hide micro-scratches anyway, meaning a flawless base isn't worth the extra hours.
Your Backing Pad Flex Changes the Effective Grit
Most people assume the number printed on a sanding disc tells the whole story. It doesn't. The flex in your backing pad shifts how those abrasive particles meet the surface. A stiff pad keeps the grit proud and biting, so a 320 disc can cut almost like something coarser. Swap to a soft, pillowy interface and that same 320 behaves far more gently, skimming the peaks while leaving valleys untouched.
That's because a flexible pad lets the abrasive conform and spread the load across a larger area. Each individual particle presses with less force, and the edges can't dig in as deeply. You end up with a finer scratch pattern than the grit rating suggests. On contoured or delicate work, this is exactly what you want; on flat stock where you need aggressive leveling, it can slow you down and leave a misleadingly polished surface that hides deeper scratches.
Hard pads do the opposite. They resist flex, keeping the abrasive flat and forcing the sharp corners of the grit to do the heavy lifting. The same disc now leaves deeper, more uniform scratches, and the effective finish acts coarser. Next time you change pads, don't just reach for the same disc and expect the same result. The pad is half the cutting tool.
A Manufacturer's Trick for Testing Cut Without a New Disc
Every shop has that moment: the disc feels dull, but you're not sure it's done. Instead of grabbing a fresh one, run the edge lightly over a scrap piece of soft copper or aluminum. A good disc will bite in with a crisp, high-pitched ring; a spent one skates and chatters. Flip the disc and repeat — sometimes only one side is glazed.
Another trick is to watch the spark pattern on mild steel. Hold the grinder at a consistent angle and let the sparks fall onto a dark floor. A sharp disc throws long, straight, bright orange streams. When the disc starts to go, the sparks shorten, fan out, and turn a duller red. Compare with a known-new disc under the same light and you'll spot the difference instantly.
If you're still on the fence, mark the disc with a permanent marker at one point and make a single pass over a fixed length of steel, timing how long it takes to cut through. Repeat with a fresh disc. If the old one takes more than 20% longer or leaves a noticeably wider kerf with more burr, it's time to retire it — no new disc needed just to run the test.
FAQ
It refers to the number of abrasive particles per square inch on the disc. Lower numbers like 40 or 60 have fewer, larger particles that cut aggressively. Higher numbers like 220 or 320 pack in more, smaller particles for finer scratches. The number doesn't describe hardness or material, only the particle size.
Not unless you enjoy removing deep scratches later. Starting too coarse creates gouges that take longer to level out with finer grits than if you had begun one step up. A simple test: if 80 grit removes the defect in three passes, 120 might do it in six without the extra damage. Match the coarseness to the surface condition, not the clock.
For thick or brittle finishes, 60 or 80 grit will cut through without clogging as fast. If the coating is thin or already flaking, 100 or 120 can strip it while leaving the wood less torn up. Watch the disc surface: if it loads with melted finish in under a minute, move to a coarser grit or use a stearated coating.
Stop at 150 or 180 for most stains, especially oil-based ones. Going to 220 or higher can burnish the surface and reduce stain absorption, leaving a blotchy result. For water-based stains, 180 is usually fine. Sand with the grain and vacuum between grits so the dust doesn't act like a finer abrasive.
Yes, metal typically needs a coarser starting point because the material is harder and scratches are more visible. For rust or mill scale, 40 to 60 grit works. For smoothing welds, 80 to 120. But on soft metals like aluminum, a too-coarse disc can smear the surface, so 120 or 150 is safer. Also consider ceramic grains for metal, they self-sharpen better than aluminum oxide.
You skipped a grit or moved up too quickly. Each grit removes the scratches from the previous one, but only if the jump is reasonable, usually no more than 50% finer. From 80, go to 120, not 180. Also, lingering coarse particles from an earlier disc can get trapped under the new one. Wipe the surface and change your work clothes if you've been grinding.
Technically yes, but the result will look like it. A worn 80-grit disc behaves more like 120 or 150, so you could use an old coarse disc for intermediate smoothing. But for final surface prep, switch to a fresh fine-grit disc. Worn abrasives leave inconsistent scratches because the edges are dull and the pressure distribution changes.
A stiff backing forces the abrasive to cut at full depth, so the disc acts coarser. A soft or padded backing lets the disc conform and ride higher, producing a finer scratch pattern. Higher tool speed also makes a given grit act slightly finer because each particle takes a smaller bite per revolution. Test on scrap first: the same 120 grit on a hard pad and a soft interface pad can leave visibly different surfaces.
Conclusion
Sanding disc selection starts with the material, not the grit number printed on the backing. A disc that chews through softwood will load up and burn on aluminum or paint, so match the abrasive type and coating to the surface before you even look at the number. Lower grits do remove stock faster, but that speed comes at a hidden cost: more heat, more edge tearing, and more frequent disc changes as the abrasive dulls under heavy pressure. Many shops would be better served by an 80-grit disc for general work. It still levels surfaces quickly but leaves a scratch pattern that is easy to refine with a single finer step, rather than forcing you through three intermediate grits. One thing people rarely consider is backing pad flex. A soft interface pad lets the abrasive ride over contours and effectively behaves like a finer grit, while a hard pad transmits full aggression from the same disc. That means your "80" might act like 60 or 100 depending on the pad underneath.
Skipping grit steps is not always a shortcut to disaster. If you are prepping for paint or a heavy film build, jumping from 60 to 120 can work because the coating fills minor scratches. But if you need a clear, stain-grade surface, you'll pay for the skip in extra sanding time later. As a quick field test, a manufacturer's trick is to use the worn edge of a current disc on a small hidden area. The reduced cut from that worn section roughly mimics what a finer grit would do, letting you judge whether the next step is necessary or whether you can stop and move on. This avoids opening a new disc just to test a theory. In practice, the right grit is never a fixed answer; it is a moving target shaped by material, pad, pressure, and the finish you can live with.
Contact Us
Contact Person: Amanda Wang
Email: [email protected]
Tel/WhatsApp: +86-13602569854
Website: https://www.sunabrasives.com.cn